 The rain shower head is designed to deliver a gentle spray of water. Ideally, it makes you enjoy your bath. However, the rainfall shower head is quite difficult to install. Fortunately, the following tips will make it easier for you to install it without any hassles.
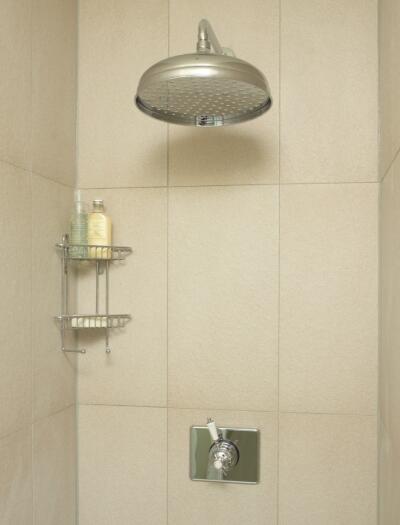
As far as the installation of the rain shower head is concerned, you need to mount it correctly. Unlike regular shower heads that are easier to adjust as your bath, the mounting position matters a lot. Thus, you need to install it above the head to ensure water covers your body fully, making it enjoyable to shower and rinse.
Tools Required
Before you follow step by step instructions, there are vital tools that you require to make the task easier for you. Some of the tools you need include:
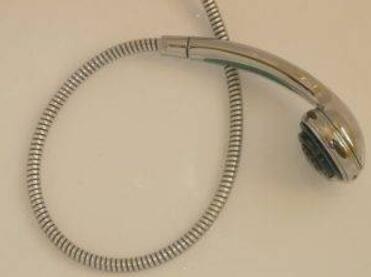
- Shower head
- Safety goggles
- Teflon tape
- Terry cloth
- Ladder or high chair
- Adjustable pliers or wrench
- Rubber sealing washer
5 Steps to Installing Rain Shower Head
Step One: Remove the Old Shower Head
It is quite easier to remove the old shower head by hand. Depending on the duration the shower head has been installed, you should consider using an adjustable wrench. Thus, if it is quite difficult to remove, you can rotate the shower head in the clockwise direction and then unscrew it.
Step Two: Keep Shower Arm in Good Shape and Clean
 After removing the head, you ought to check the shower arm and the threads for any particular debris and even old Teflon tape. If there is any, you can remove it and clean it thoroughly. It is advisable to use microfiber cloth as you clean as it removes Teflon tape perfectly. Moreover, it works great when it comes to removing up the tiny grits.
When you are done cleaning, you should check whether it is leaking or corroded. For the damaged threads, it is advisable to replace it entirely. In this way, you can have a great shower experience.
Step Three: Add New Teflon Tape
After removing the old Teflon tape, you ought to replace it with the new ones. The good thing about this tape is that it helps to protect the shower from leaking after you install the rainfall shower head. You can then apply the Teflon tape for about five turns on the thread and then tear the end part. Make use of your hands to ensure you keep it leveled to the thread.
Step Four: Connect Shower Head
One of the tools that come with the shower head is the rubber sealing washer. This is an important tool as it ensures the showerhead is tight, and it is secured on a thread. You should ensure you install it properly. After this, you should reconnect the shower head and then tighten it with the hands. It is advisable to employ a ladder or chair to make things quite easier.
Step Five: Tighten Shower Head
You can get an adjustable wrench for tightening down your shower. However, you should ensure that you wrap the threads using a cloth. This is necessary to avoid damaging the finish as you tighten the shower head. After doing this, you can then use an adjustable wrench for tightening it. Avoid using a lot of force so that it is easier to replace in the future.
Other Tips for Installing A Rainfall Shower Head
Keep Your Bathroom Clean
After installing the shower head, you should take out the tools you have used. Get a container and place the items of the old shower. Ensure you keep these items as they may become handy in future repairs.
Inspect for Water Leakage
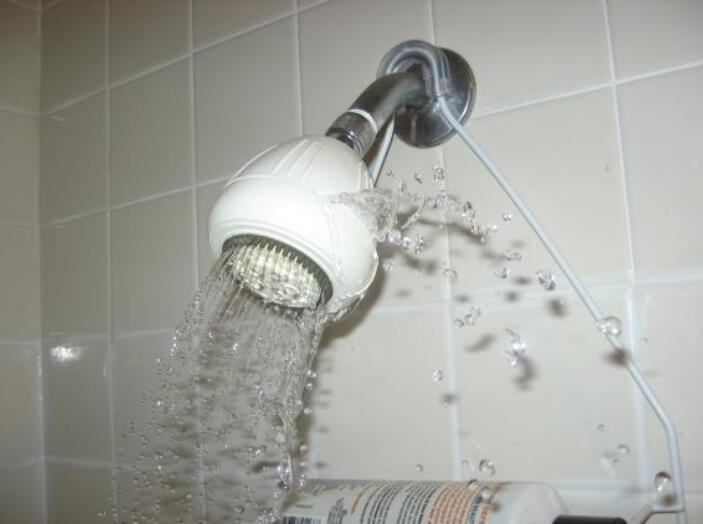 It is vital that you test the new head for any potential leaks by turning the shower on. If there are leaks, ensure you tighten the head. There are times you will need to remove your rainfall shower head to add more Teflon tape.
When you are done tightening the head, you need to check whether the plumber’s tape sticks out. Make sure you install your tape correctly. Also, you ought to check wall outlets and arm connection for any particular leaks.
If you have worn-out, old shower arm and you need to install the one, install the new arm before placing the shower head. In this way, you can easily tighten the new arm outlet easily.